


Furniture Painting Tips from a Pro - Planning & Preparation
Painting your wooden furniture is a great way to update and refresh it rather than replace it. It's relatively quick, inexpensive and easy to do. As an experienced furniture painter and workshop trainer here are some of my top tips and advice to get the best results, learn how to breathe life into tired old pieces of furniture and create a custom piece for your home.
How to paint furniture: A Beginners Guide
Part 1 - Planning & Preparation
Choosing the right colour
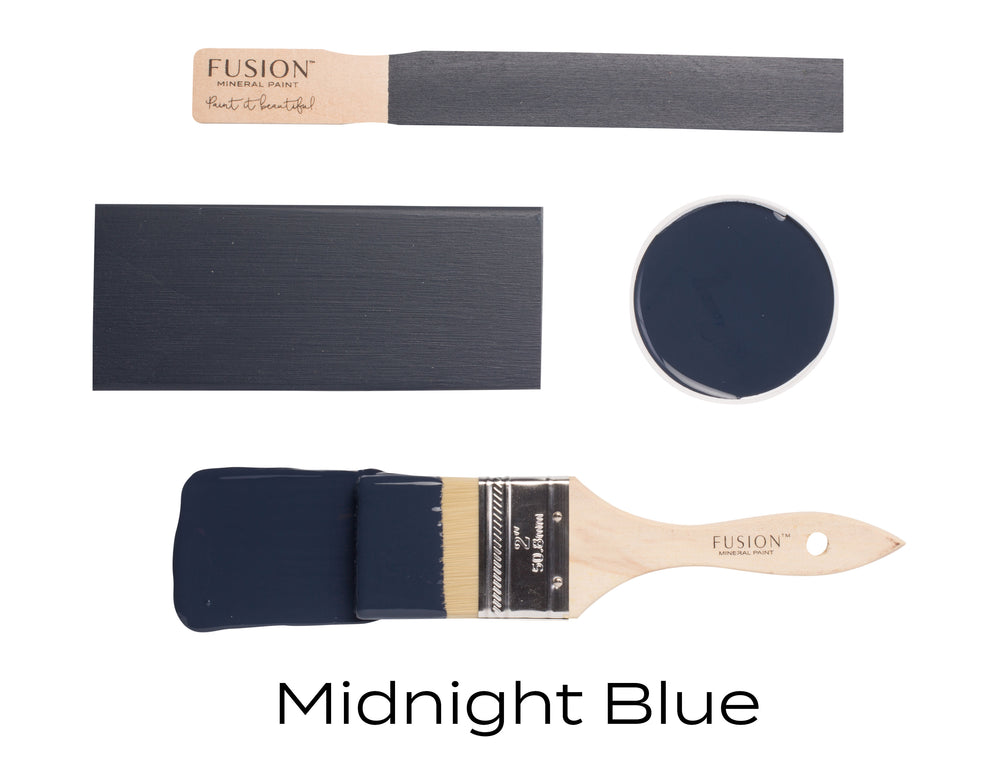
Choosing the colour is a really fun part of the process. Get it right and you've created a unique piece of furniture for your design scheme! Choose a colour that compliments the room it's going in. A bold colour will create a stand out focal point in the room. A neutral will sit comfortably in most designs. A shade or tone that is similar to the wall colour it is sitting against will make it blend into the background. It's worth getting an official hand painted colour chart or sample pot of paint to see the colour in real life in the room before committing. Screen resolution on computers and telephones alter reality when it comes to colour.

Choose your style
Smooth and flawless? Rustic and distressed? Multi coloured? Ombre? Aged? Before you start you need to decide what you want the outcome to be.
If you know you want an aged, distressed finish, choose a more matt finish paint like Annie Sloan Chalk Paint. When you are painting, you won’t need to worry so much about leaving brush strokes or getting a perfectly even finish and this will add to the character.

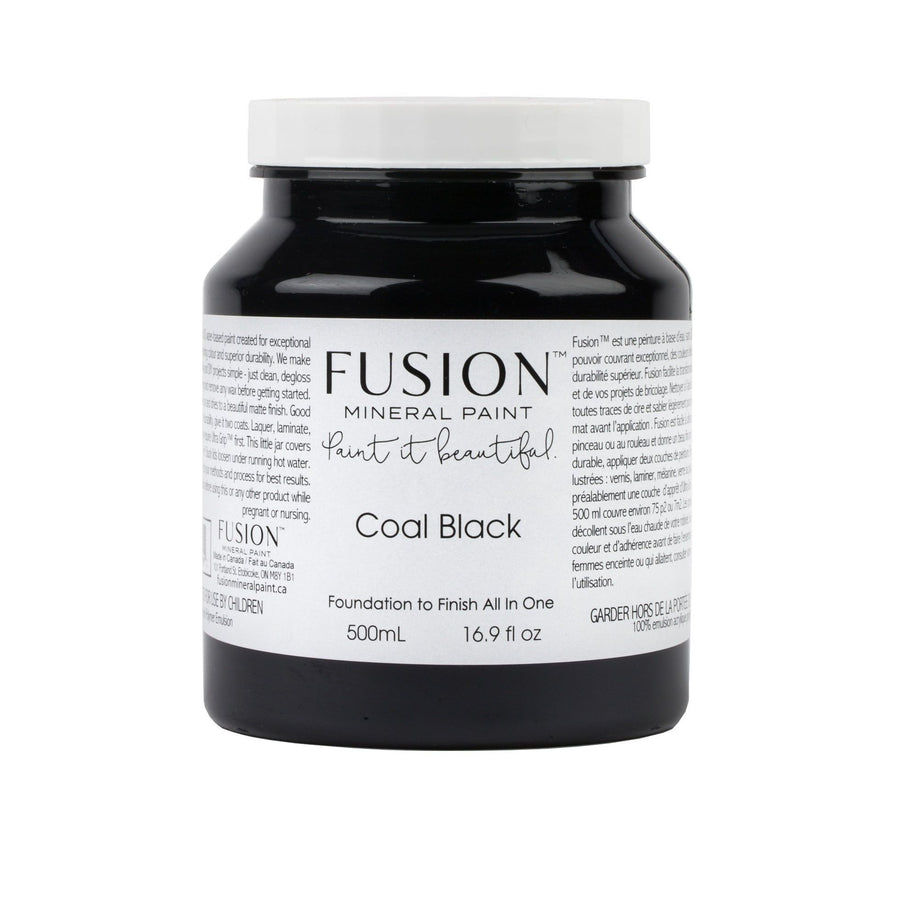
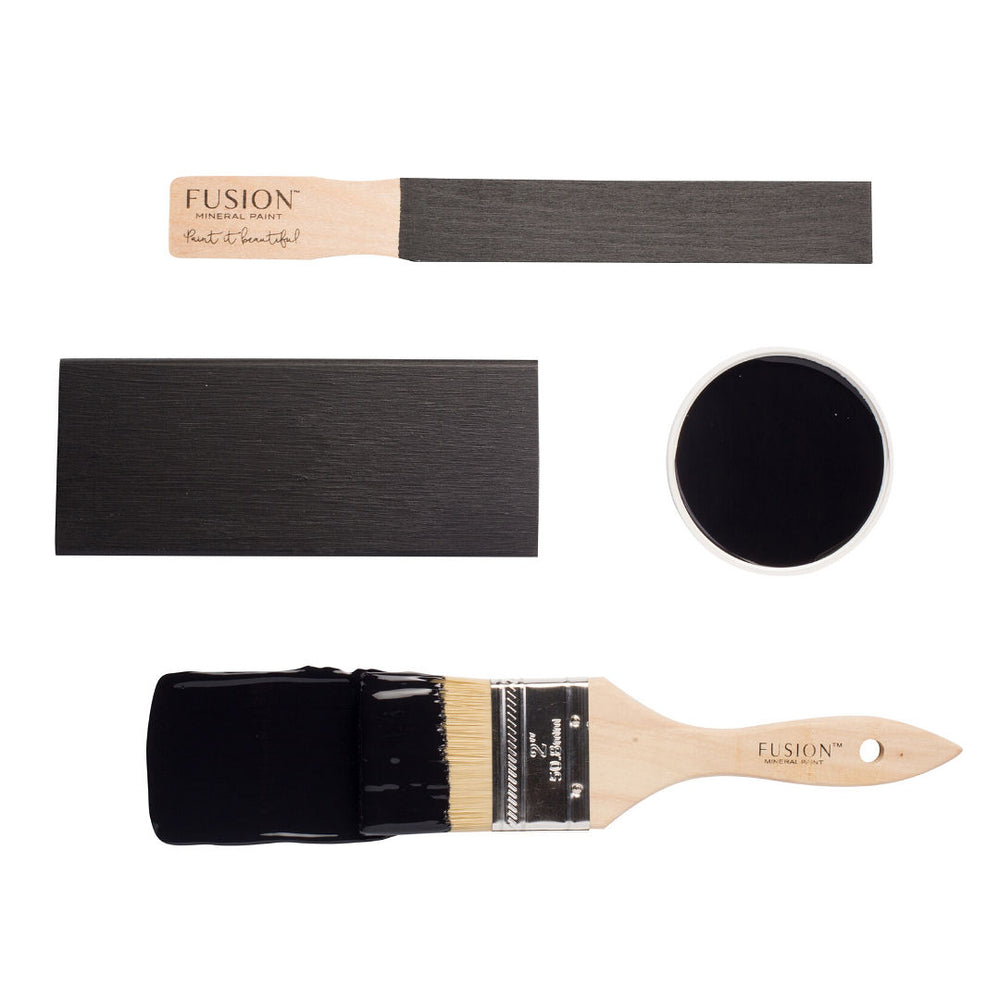
If you are going for a smooth flawless finish, you may want to choose a paint with a smoother, more reflective finish like Fusion Mineral Paint. You’ll also want to be much more careful about keeping your brushstrokes smooth and even.

Don't be afraid to have a practice on a board, old kitchen door or plank of wood before you tackle painting your favourite piece of furniture. If you're going for an intricate design then sketch it out first to help you visualise your design and colour palette.
How to Prepare Furniture for Painting
Cleaning Furniture for Painting
I know lots of painters who say just get painting but, good preparation is key for a professional looking finish. If you know the history of a piece of furniture and you're happy with it then it's great to just crack on but if it's come from an antiques or recycling centre, auction house or facebook marketplace then you will want to give it a through clean. I use a kitchen scrubby sponge or old flannel and Fusion TSP in a spray bottle. You want to clean it inside and out and don't forget to do underneath the base and shelves.

Removing Handles And Hardware from Furniture
A multi-bit screwdriver (with interchangeable heads) is a handy piece of kit to have in your workshop. I really like the ones with a stubby handle like this Stanley Screwdriver which is great if space is tight. If you have screw threads that have worn or been damaged then a set of screw extractors will save you both time and frustration. I only discovered these a few years ago - they are easy to use with an electric drill.
Always wear eye protection, safety glasses are so much better than they used to be, these DeWalt Safety Glasses are light and comfortable (and not too big if you have a small face like me!)
How to Repair Holes and Dents in Furniture Before Painting
Repair dents or holes with general purpose wood filler I prefer a squeeze tube as opposed to a big tub as you don't need much of it and it's easy to squeeze out and keep the rest for another day. Use a putty knife to smooth over and into the gaps and holes. It's easy to sand back once dried.

Do I need to Remove the Doors to Paint a Cupboard?
If this is your first ever furniture painting project then I'd probably say not. Cabinet doors can be difficult to get off and even trickier to get back on correctly particularly on older, handmade or antique furniture. However having said that if you're a competent DIYer or a perfectionist then it can make the painting part easier. There are no hard rules, it depends on the piece of furniture, the hinges and screws and your personal skills with a screw driver.
Sanding Furniture for Painting
If your piece of furniture shows signs of wear and tear or you've had to fill holes and dents with filler then you will need to sand. If you're painting raw wood and it has rough areas or saw marks then you will need to sand. If you want to apply a stain or wash to show the grain through then you will need to sand!
How much you need to sand comes with experience but as a general rule I key the surface on most pieces of furniture to get the smoothest and longest lasting results. I used a Festool Sander and Mobile Dust Extractor unit, its the Rolls Royce of Sanders and it took me a long time to save up for it but it really is the best investment I've made in my furniture painting. When I started I had a Black and Decker Mouse sander, which is really versatile and great for all sorts of DIY jobs. I also used a Makita Orbital Sander for larger jobs such as sideboards and wardrobes. You can of course just hand sand instead - it just takes a lot longer but it is a good work out!

Sanding furniture to paint is the part that puts most people off the task. With a chalk paint you do not need to sand. However, if you want a professional smooth finish and a really long lasting result it's worth it. With an acrylic based paint such as Fusion Mineral Paint you do need to at least scuff sand to key the surface and give the paint something to grip to.
If the existing surface is shiny, then the paint won’t have anything to grab onto. By sanding you are giving the surface some “tooth” so the new paint will adhere correctly. It is better to lightly sand the surface than it is to paint without sanding only to find out that your paint is peeling off and you have to start all over again!
Health & Safety When Sanding Furniture
You only have one set of lungs, I use a respirator mask when sanding to protect against dust particles. They aren't expensive and are much more comfortable than the usual DIY dust masks because they're completely adjustable and give better protection against very fine particles.
What grade of sandpaper to use to prep furniture?
Whether you use an electric sander or sand by hand, you need to use the correct grit for your project. Sandpaper is graded using numbers, the lower the number the rougher, coarser and harsher the grit is. If you have heavily gouged furniture or layers of old paint or varnish to get through then you will need a lower grade paper such as 60 or 80 grit. Once you've got the worst off you will need to work your way through the grades finishing up at 180 grit if you're painting or 240 grit if you're oiling or staining.
Sand Paper Grade Guide
P80 Grit - Coarse - the best one to start with if you have old paint or varnish to remove or an uneven surface such as rough timber. The starting grade for hardwoods
P60 - Medium - Great for sanding bare wood to prepare for painting
P100 - P120 - Fine - Removing water stains, fine scratches and keying surface for paint. The starting grade for softwoods. Prep for latex and acrylic based paints.
P180 - P220 - Very Fine - Final sand to smooth and prepare for paint
P400 - Extra Fine - Only needed for finishing oils and stains
Once you're done sanding wipe over the piece with a clean damp cloth (old tea towels work really well for this) to remove the last bits of dust.
If you're planning to stain or apply a stain and finishing oil to a wooden surface or top then I would also re-clean it after sanding with a clean cloth and white spirit to ensure that it is completely clean and dust free.
Taping Off
No matter what you're painting there are likely to be some areas that you don't want to paint such as a mirror, inside a cupboard or the sides of drawers. To get a sharp, crisp line you will need some painters tape. This is a product that's worth spending a little money on to ensure you get a quality result and no bleed underneath that ruins that sharp line. I use either Razor Tape or green Frog Tape.

Protecting Your Floor Against Paint Spills and Splashes
Whenever I'm painting in a clients home I use the Floor Protection Sheets to place the furniture on and to protect the walls behind it. This gives me piece of mind that their floor is protected and its a good smooth surface to work on. They're also easy to cut down if space is tight and don't ruck up like dust sheets can.
How to Lift up Furniture to Paint
Paint pyramids or painters stands are fabulous to pop under furniture to raise it off the ground to make sure you can access all areas with your paint brush quickly and easily. They ensure that all edges can be covered and also mean that the bottom edge doesn't stick to the floor covering. Again, not essential if this is your first project but handy if you're doing a few. They're reusable so a good pro piece of equipment for your toolbox.
How to Move Heavy Furniture Around for Painting
Furniture dolly are like skateboards for your furniture, they're great if you work on your own and need to move furniture around your workshop. Or have to move a really heavy piece around to get access to all sides. If you're planning to tackle wardrobes or sideboards then a couple of dollies can be really useful.
Now you are ready for part 2 of How to Paint Furniture: A Beginners Guide, Applying Paint.
I hope this furniture painting guide has been helpful for you! If you have any questions about how to paint furniture, please feel free to leave a comment and let me know.
Good luck with your projects!
Steph

Leave a comment